Open to full-time roles, freelance projects, or just a good conversation about tech. Drop me a line and let's talk.

So, you just bought a VPS.
Maybe it's running Ubuntu, maybe Debian, maybe you only use it for personal projects, APIs, bots, or self-hosted applications.
But here's the problem:
The moment your VPS becomes publicly accessible on the internet, automated bots immediately start scanning it.
And yes — this happens even if your server is "empty".
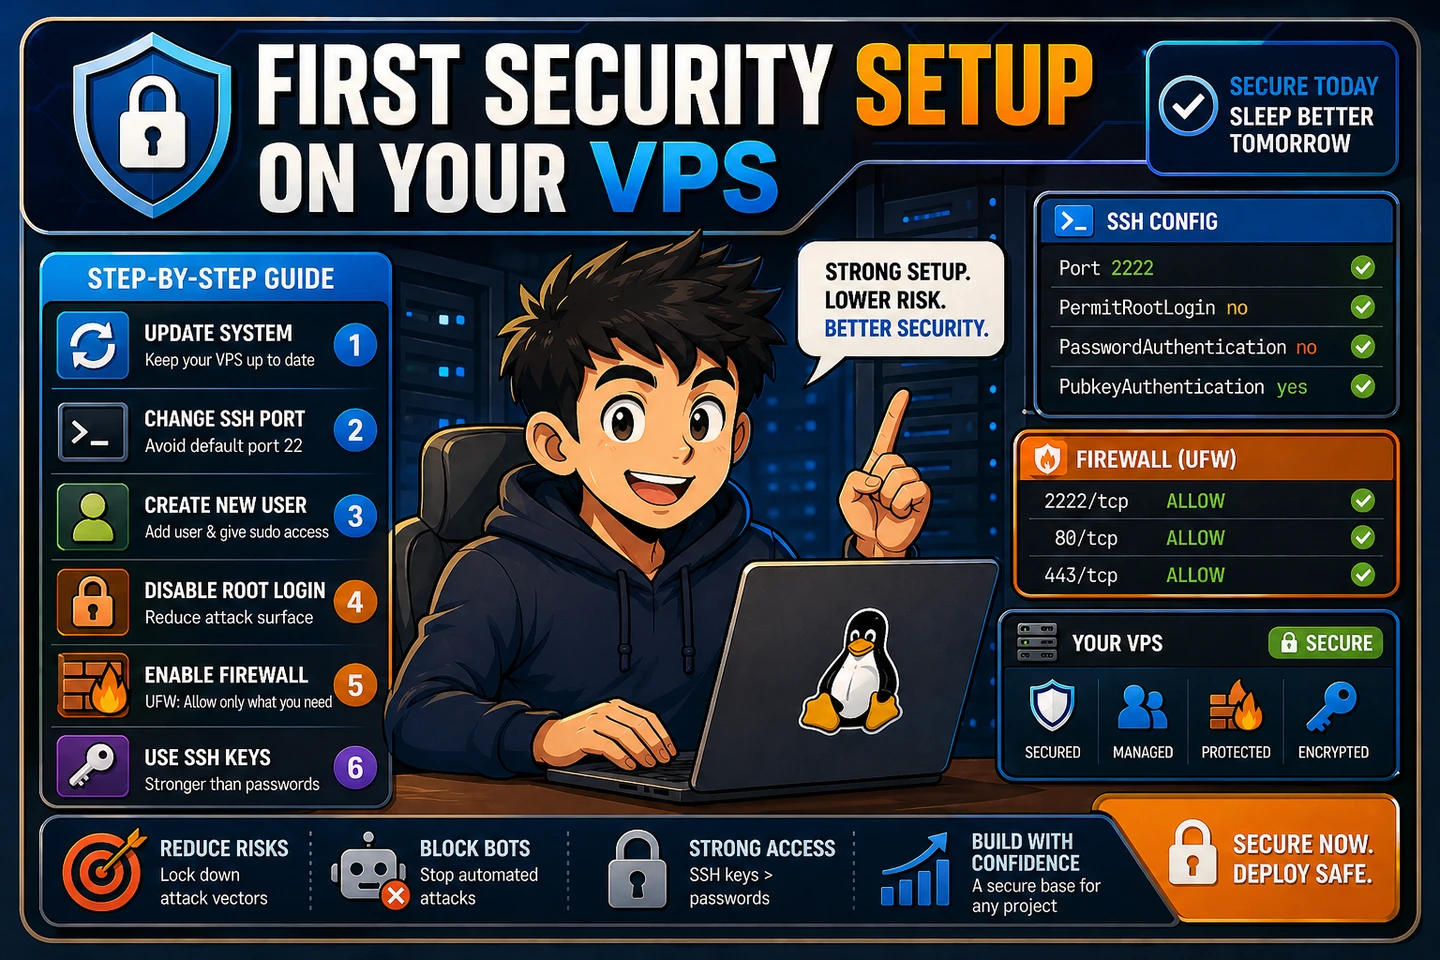
Many beginners deploy a VPS and leave everything in its default configuration:
This is one of the most common beginner mistakes in server administration.
In this guide, I'll walk you through the first security setup I usually apply on a fresh VPS machine. These are simple but highly impactful improvements that significantly reduce unnecessary risks.
Important:
Please follow the steps carefully and in order.
Skipping certain steps — especially around SSH access — can accidentally lock you out of your own server.
Before installing anything, always update your system packages.
This ensures your VPS receives:
Run:
sudo apt updateThen:
sudo apt upgradeYou can also upgrade packages automatically without prompts:
sudo apt upgrade -yKeeping your server updated is one of the most basic yet essential security practices.
By default, SSH runs on port 22.
Attackers know this.
Most automated bots and scanners will first attempt to attack port 22 because it is the standard SSH port on almost every Linux server.
Changing the SSH port will not magically secure your VPS, but it helps reduce:
Think of this as reducing visibility, not replacing real security.
Open the SSH configuration file:
sudo nano /etc/ssh/sshd_configFind:
Port 22Change it to another port.
Example:
Port 2222You can use almost any unused port you want.
Save the file afterward.
Apply the changes:
sudo systemctl restart sshdIf no error appears, the configuration was applied successfully.
Before closing your current terminal session, open another terminal and test the new port:
ssh your_username@your_ip_address -p 2222Example:
ssh [email protected] -p 2222If you can log in successfully, congratulations — your SSH port has changed correctly.
Never close your existing SSH session before testing the new one.
Using root for daily server activities is dangerous.
If someone gains access to your root account, they instantly gain full control over the server.
Instead, create a normal user and give it sudo privileges.
This step is extremely important because later we will disable direct root login.
Run:
adduser <your-username>Example:
adduser johndoeLinux will ask for:
After the process finishes, switch into the new user:
su - johndoeExplanation:
sumeans:
substitute user / switch user
Now give the user administrator privileges.
Switch back to root if needed:
exitThen run:
usermod -aG sudo johndoeThis command adds johndoe into the sudo group.
Switch back into the user:
su - johndoeCheck groups:
groupsYou should see something like:
johndoe sudoThat means the account already has administrator privileges.
Now that your new user is ready, it's time to disable direct root login.
This is one of the most important security improvements for a VPS.
Before disabling root login, make sure you can log in using the new account.
Open another terminal and test:
ssh johndoe@your_ip_address -p 2222If login works correctly, continue.
If not, stop here and fix the issue first.
Open:
sudo nano /etc/ssh/sshd_configFind:
PermitRootLogin yesChange it to:
PermitRootLogin noSave the file.
Apply changes:
sudo systemctl restart sshdNow root login is disabled.
This means the following command will no longer work:
ssh root@your_ip_addressYou must use your normal user account instead:
ssh johndoe@your_ip_address -p 2222A firewall helps control which ports are publicly accessible.
Without a firewall, every open service on your VPS becomes reachable from the internet.
Ubuntu provides a simple firewall tool called:
ufw(UFW = Uncomplicated Firewall)
Run:
sudo ufw statusExample output:
Status: inactiveor:
Status: activeBefore enabling the firewall, you must allow your SSH port.
Otherwise, you may lock yourself out of the server.
Example for port 2222:
sudo ufw allow 2222This step is extremely important.
Now enable UFW:
sudo ufw enableCheck status again:
sudo ufw statusExample:
2222/tcp ALLOW Anywhere
2222/tcp (v6) ALLOW Anywhere (v6)Your SSH access is now protected by the firewall.
If you run a website using Nginx or Apache, allow ports 80 and 443.
sudo ufw allow 80or:
sudo ufw allow httpsudo ufw allow 443or:
sudo ufw allow httpsThis is one of the highest-impact security improvements you can make on a VPS.
Instead of logging in using passwords, you authenticate using cryptographic SSH keys.
Because passwords can be:
SSH keys are significantly harder to compromise.
For modern servers, SSH key authentication should be considered a baseline security standard.
On your local machine:
ssh-keygenModern recommendation:
ssh-keygen -t ed25519You will see:
Generating public/private ed25519 key pair.Press Enter to use the default location.
You may also set a passphrase for additional protection.
If successful:
Your identification has been saved in ~/.ssh/id_ed25519
Your public key has been saved in ~/.ssh/id_ed25519.pubInside your .ssh folder:
~/.ssh/id_ed25519
~/.ssh/id_ed25519.pub| File | Description ||
|---|---|
| id_ed25519 | Your private key. Keep this secret and never share it publicly. |
| id_ed25519.pub | Your public key. This key can be safely shared with your VPS/server. |
id_ed25519This is your secret key.
id_ed25519.pubThis key is safe to share with servers.
Your VPS uses this key to verify your identity.
Run:
ssh-copy-id user@your-server-ipExample:
ssh-copy-id [email protected]This command automatically appends your public key into:
~/.ssh/authorized_keysNow your VPS recognizes your machine as trusted.
Before disabling password authentication, test the SSH key first.
Run:
ssh johndoe@your-server-ipIf successful:
Never skip this test.
Disabling passwords before verifying SSH keys can permanently lock you out of the server.
Open SSH configuration:
sudo nano /etc/ssh/sshd_configFind:
PasswordAuthentication yesChange it to:
PasswordAuthentication noYou can also ensure these settings exist:
PermitRootLogin no
PubkeyAuthentication yes
ChallengeResponseAuthentication noSave the file.
Apply changes:
sudo systemctl restart sshOr on some systems:
sudo systemctl restart sshdThe moment your VPS becomes public, bots immediately begin scanning it.
Many attackers continuously attempt:
A password-authenticated SSH server is constantly exposed to these attacks.
SSH keys dramatically reduce this attack surface because:
This is why SSH keys are considered the industry standard for secure server access.
Recommended:
ssh-keygen -t ed25519Benefits:
Fail2Ban automatically blocks repeated failed login attempts.
Install:
sudo apt install fail2banCheck status:
sudo systemctl status fail2banThis adds another layer of protection against brute-force attacks.
Security is not a "one-time setup".
Always keep your system updated regularly:
sudo apt update && sudo apt upgradeAn outdated server is one of the easiest targets for attackers.
Security is not about making your VPS "unhackable".
That's impossible.
The goal is to:
Even simple improvements like:
already make your VPS far more secure than many publicly exposed servers on the internet.
For a fresh VPS setup, these steps should be considered the minimum baseline before deploying any production application.